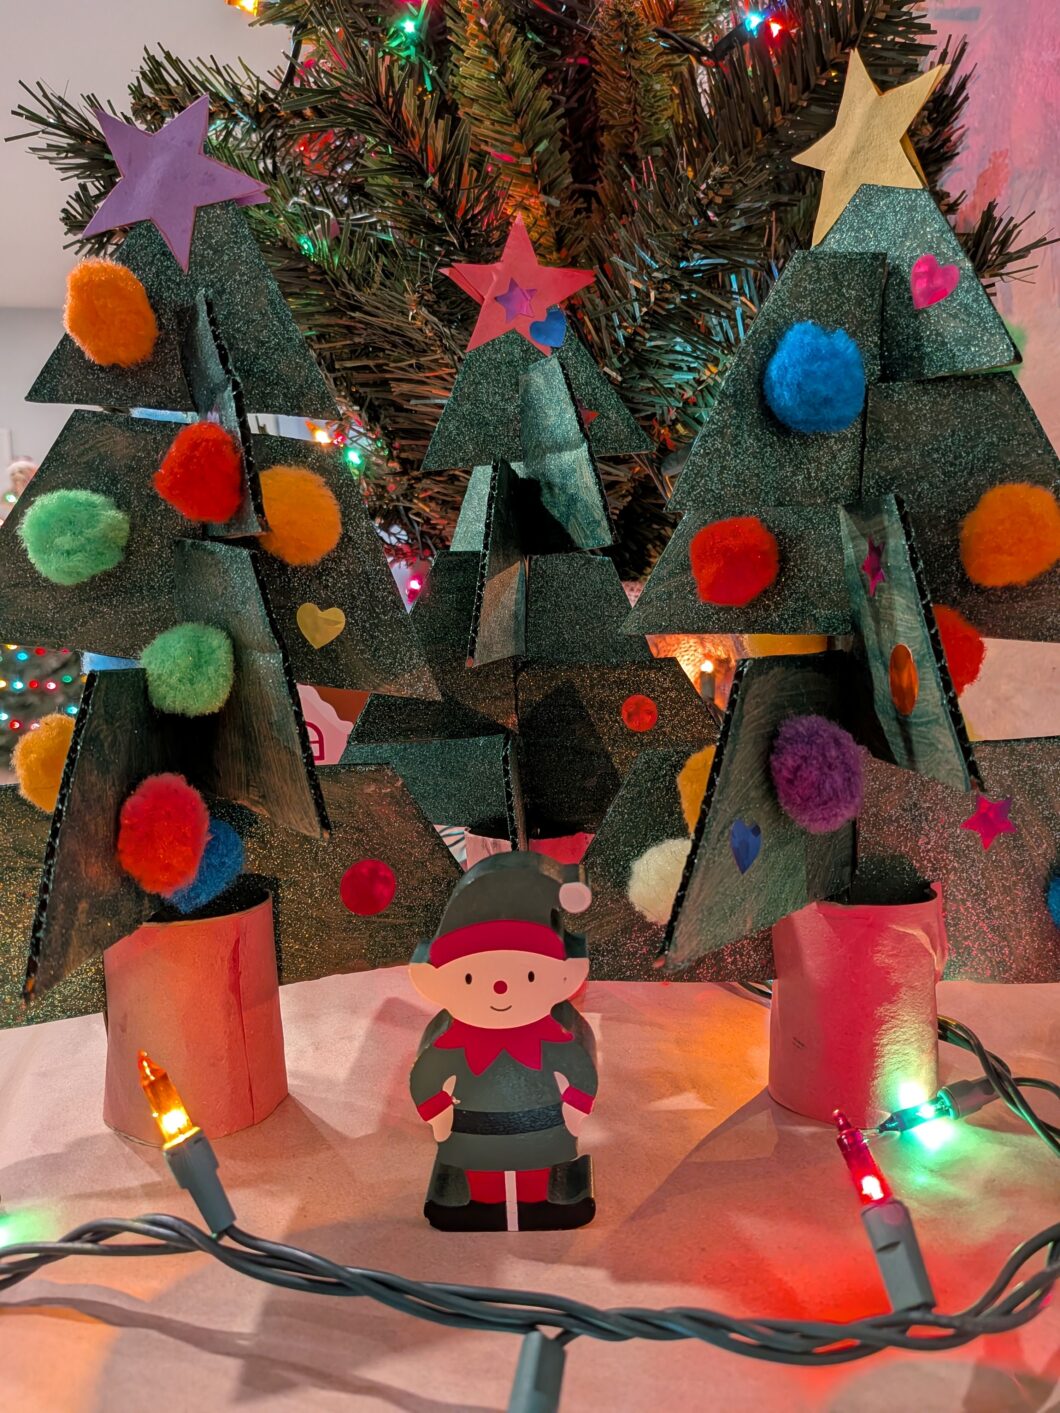
These 3D Christmas trees are so cute and fun to make using materials you most likely already have at home! My toddlers loved making their very own standing 3D trees! Using glitter paint adds additional festive cheer to these trees. You can also use a variety of items to add the ornaments, depending on what you have at home.
FIne Motor Skills:
- Grasp patterns
- Tool use
- Hand eye coordination
- Bimanual coordination
- Precision dexterity
Bonus Skills:
- Creativity
- Problem Solving
- Following Step by Step instructions
- Fosters independence
- Builds confidence
- Increases frustration tolerance (if assembling first as tree can fall apart while decorating)
Supplies:
- scissors
- toilet paper roll
- cardboard
- brown construction paper
- green paint (optional – glitter paint)
- glue
- pompoms, stickers, craft gems (any small items to decorate tree for “ornaments”)
General Directions:
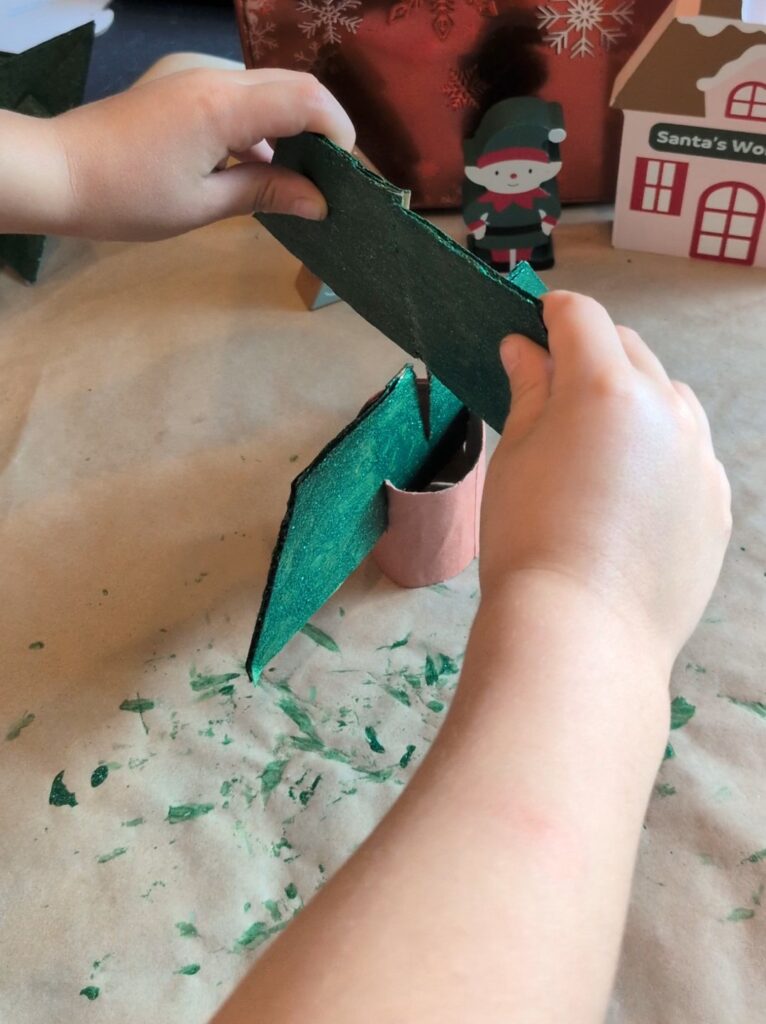
- Cut toilet paper roll in half.
- Cut out strip of brown construction paper to cover toilet paper roll. Add glue and attach to roll.
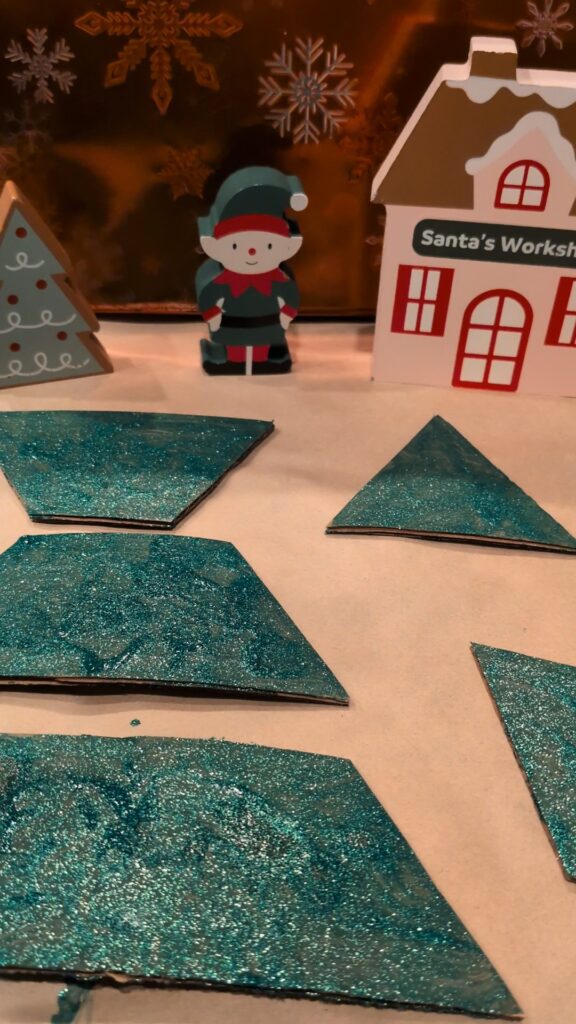
- On cardboard, trace + cut out pentagons in 3 sizes (x2 of each largest ones + 1 small one) + 1 triangle to form pieces of Christmas tree.
- (You or your toddler) Paint each piece with green paint. When dry, paint the other side of each piece.
- Cut 2 notches (on opposite ends forming a straight line from each other) in toilet paper roll, then cut notches at the top of each pentagon piece in the middle, going halfway down.
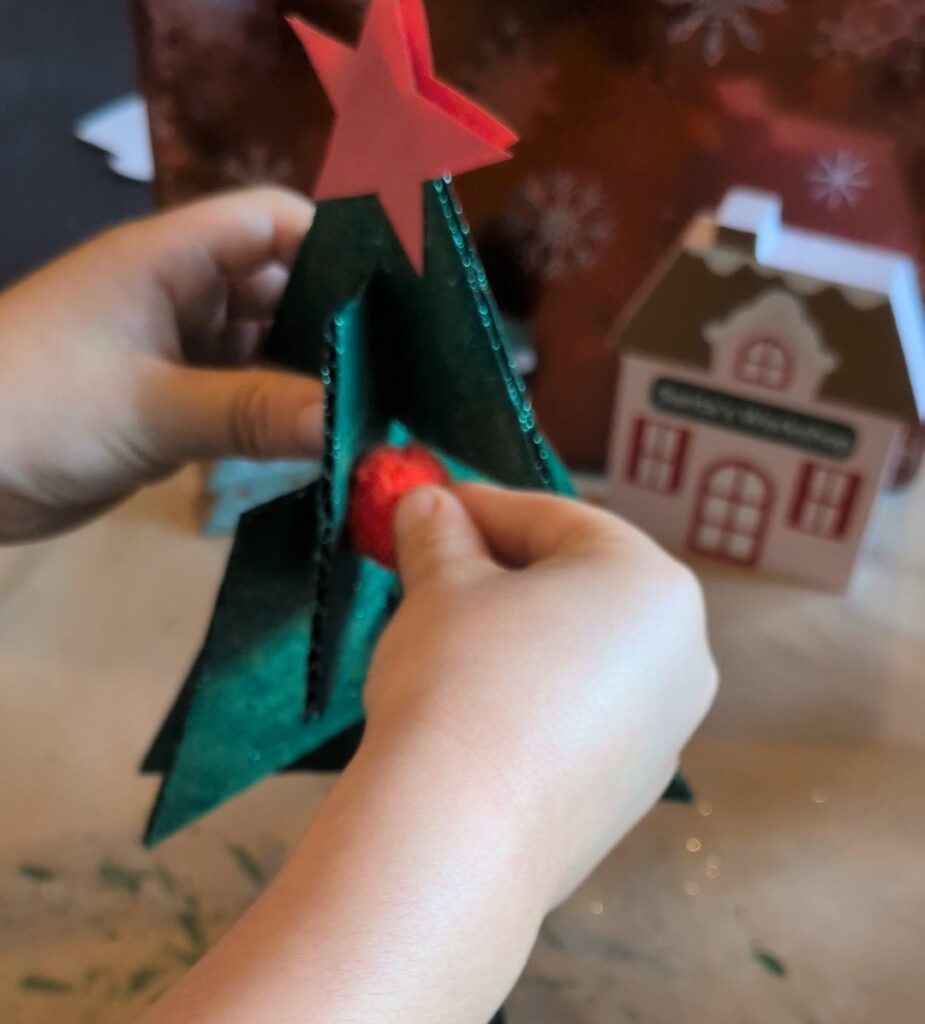
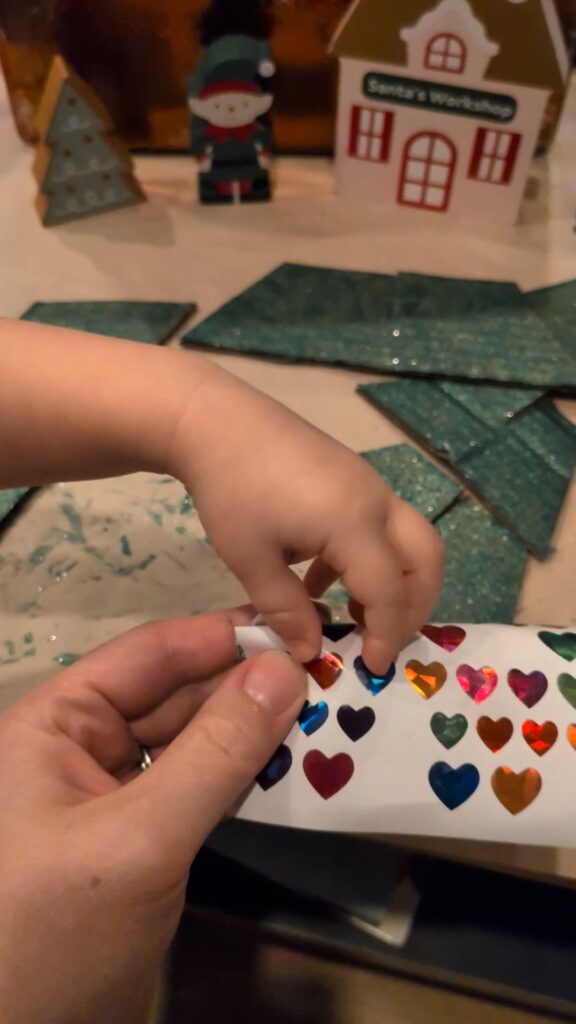
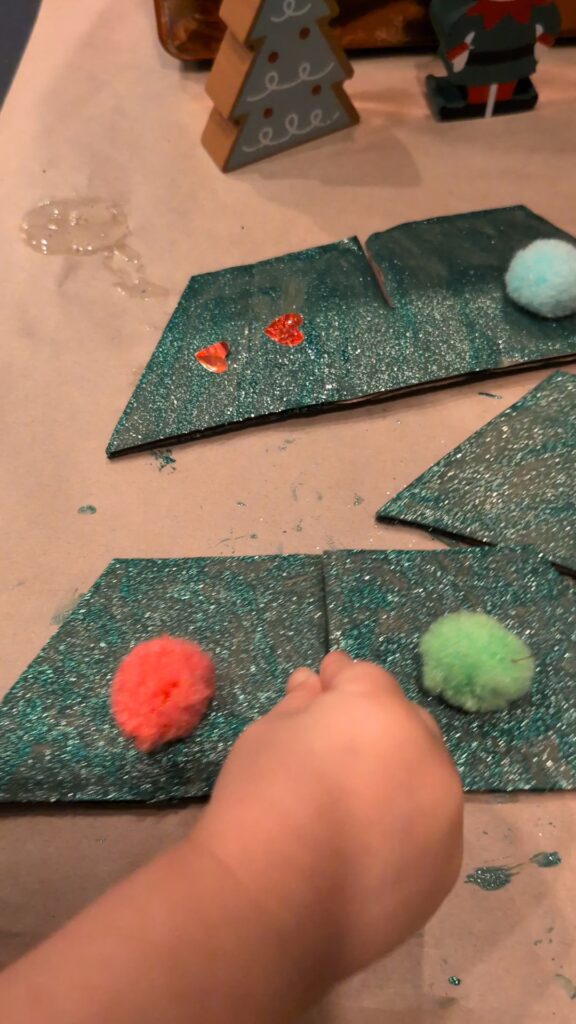
- Have your toddler decorate with pompoms, stickers, craft gems, etc.
- Assemble the Christmas tree by first placing largest pentagon in notches on toilet paper roll. Then, stack remaining pieces going from largest to smallest, with triangle at the top.
Toddler Instructions:
1-2 year olds:
4. Paint tree pieces (with or without help)
6. Decorate tree pieces freely using puffy or large stickers, pom poms, craft gems. If requires gluing, you can have them dip pieces into glue or you can apply glue for them.
7. Help your toddler to assemble pieces (they will need a lot of help for this). You can make it easier by making notch slightly wider.
2-3 year olds:
4. Paint tree pieces
Your toddler can either decorate or assemble first –
6. Decorate tree pieces freely using stickers of all sizes (no backing to make it easier), pom poms, craft gems. If requires gluing, you can have them dip pieces into glue or help them apply glue with hand over hand assist to squeeze bottle.
7. Help your toddler to assemble pieces (many will need help with lining up and pushing down pieces)
3+ year olds:
2. Some of these toddlers can help to cut strip in brown construction paper.
4. Paint each tree piece
7. Your toddler may want to assemble their tree first. Some may be able to assemble with only verbal instructions, others may need help to line up and push pieces together.
6. Decorate tree pieces freely using stickers of all sizes, pom poms, craft gems. If requires gluing, you can have them dip pieces into glue or help them apply glue with hand over hand assist to squeeze bottle.
Note:
- Older toddlers can assemble their tree first and then decorate if preferred. Decorating after assembling requires more refined skills, bimanual coordination, and grading of strength to prevent tree from falling apart while decorating (which may happen!)
- You can have your toddler complete this entire activity, or you can paint the pieces for them and have them decorate and assemble once dry.